Add a touch of magic to your everyday carry! In this tutorial, we’ll be stitching up a delightful unicorn bag charm that’s as fun to make as it is to show off. The real enchantment comes to life as we layer a rainbow of leather pieces to create its flowing, colorful mane. Get ready to craft a little piece of fantasy that will brighten up your keys, bag, or interior!
Use stitching prongs or a 1mm hole punch to punch the stitching holes directly on top of the paper.
3 mm の穴パンチを使用して、O リング ストラップのリベットを収容する穴を開けます (要素には注釈が付けられています) ス on the pattern) and a 5mm hole punch for the eyes on both sides of the body (C).
プロジェクトの一部を切り出す
ハサミまたは X-Acto ナイフを使用して、プロジェクトのすべての部分を切り取ります。
You’ll notice that elements T are ridiculously small. Those are optional. Please refer to the last step (ie: “仕上げ“) to decide if you’d like to use them or not.
チュートリアル
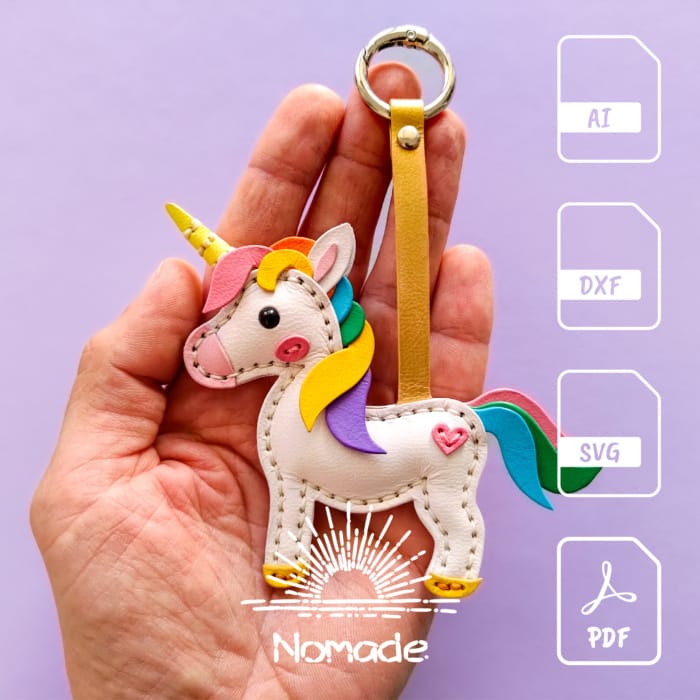
Unicorn Bag Charm
3時間
簡単
レザークラフトによくある
Add a touch of magic to your everyday carry! In this tutorial, we’ll be stitching up a delightful unicorn bag charm that’s as fun to make as it is to show off. The real enchantment comes to life as we layer a rainbow of leather pieces to create its flowing, colorful mane. Get ready to craft a little piece of fantasy that will brighten up your keys, bag, or interior!
要件
スキル
ツール
部品表
パターン
Unicorn Bag Charm Pattern
2,00 $ウォークスルー
パターンを印刷する
あなたはできる ここでパターンを入手してください まだ行っていない場合は。
ダウンロードしたバージョンに応じて、US レターまたは A4 用紙に印刷します。
印刷設定を確認して、パターンのサイズが変更されていないことを確認してください。各ページの下部にある基準を測定することで、正しく印刷されたかどうかを確認できます。
組み立て図を保存しておくと、後でステッチ処理中にピースを配置するのに役立ちます。
型紙の部分を革に固定する
パターンのさまざまな要素の周囲を大まかに切り取り、マスキングテープで革に固定します。
穴を開ける
Use stitching prongs or a 1mm hole punch to punch the stitching holes directly on top of the paper.
3 mm の穴パンチを使用して、O リング ストラップのリベットを収容する穴を開けます (要素には注釈が付けられています) ス on the pattern) and a 5mm hole punch for the eyes on both sides of the body (C).
プロジェクトの一部を切り出す
ハサミまたは X-Acto ナイフを使用して、プロジェクトのすべての部分を切り取ります。
You’ll notice that elements T are ridiculously small. Those are optional. Please refer to the last step (ie: “仕上げ“) to decide if you’d like to use them or not.
革を染める
染色はさまざまな方法で行うことができます。これを参考にさせていただきます Youtube プレイリスト 私よりもはるかに資格のある職人からこのテーマについてさらに学ぶためです。
このプロジェクトでは、Angelus ペイントのさまざまな色を希釈し、白いアクリルと混ぜて、柔らかいトーンのパステル カラー パレットを作成しました。
Setting the rivet on the O-ring strap
接着剤を使用して耳の内側部分を所定の位置に固定します (D そして E).
Gluing the eyes
接着剤を使用して耳の内側部分を所定の位置に固定します (D そして E).
Stitching the horn
XX
すべてを縫い合わせる
X
X
X
X
X
X
仕上げ
サドルの両側の中央に縫い穴が 1 つずつあり、ラマの体の両側には接続されていません。
x
x
最終結果
このチュートリアルを楽しんでいただけたでしょうか?ぜひ、下のコメント欄に作品の写真を投稿してください。皆さんが私の小さな作品を自分のものにし、世に広めていく姿を見るのは、私にとって大きな喜びです。
このチュートリアルまたはプロジェクトのアイデアに関する、ここに投稿してほしいフィードバックや質問は、今後も大歓迎です。
楽しいクラフトを!
脚注
次のオンライン コンテンツは、このプロジェクトの作成中にいくつかの支援やインスピレーションを提供しました。